
A common Jeep 4WD maintenance question is when to change the engine air filter. On-highway, under optimal conditions, an air filter element can last for thousands of miles. By contrast, mere hours of alkaline dirt road exposure will clog an air filter to the point of air starvation!
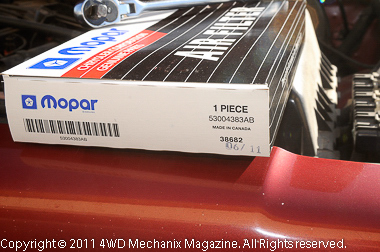
For backcountry travel, carrying a spare air filter element is always wise. You can quickly change a modern Jeep air filter element—even alongside the trail—using minimal tools!
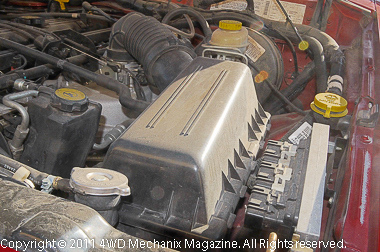
1. Locate the air box. On this XJ Cherokee, the box is at the driver’s side, just behind the radiator filler neck. Identify the air box on your Jeep model. Brush or vacuum off dust and debris before loosening the lid.
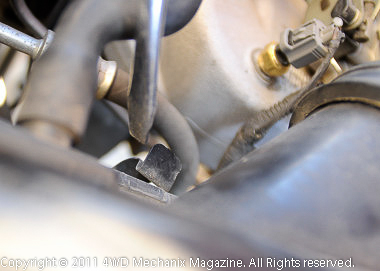
2. Three spring clips hold down the upper air box cover on this XJ Cherokee. Clips can be loosened easily with a screwdriver. Do not bend or distort the clips or plastic lid in the process…
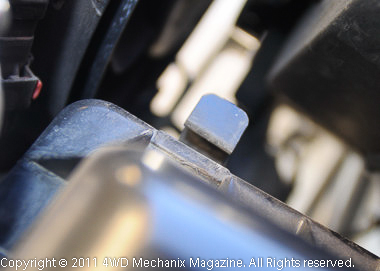
3. Make sure clips are clear of the lid. Brush off remaining dust from the cover before lifting the lid. Typically, the lid hooks onto tabs. For this application, tabs are on the long side of the air box, opposite the clips.
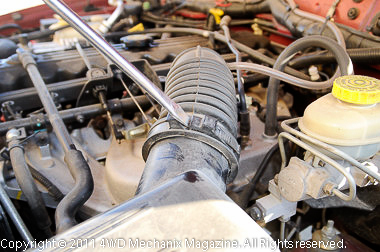
4. On many Jeep engines, it is practical to loosen the air intake hose before lifting the air box lid. Brush away dirt before loosening this hose. A screwdriver will release the clamp tab at its teeth. Lift gently—this is plastic and can become brittle over time.
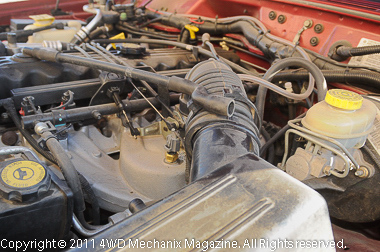
5. The hose clamp and hoses are now loose. On the XJ Cherokee, loosening the crankcase breather hose allows removal of the air box lid. With the hoses out of the way and lid clips loose, you can pivot the lid upward and slide it off the locating tabs.
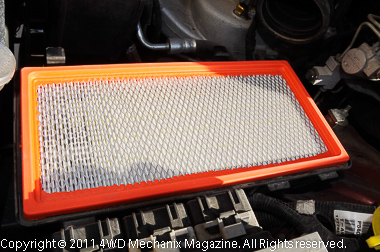
6. The top of this generic air filter appears clean. This is the engine supply side. It’s the bottom side of this filter that catches dirt and debris. You must lift the filter out of the air box for inspection. The filter seals at the box and lid edges.
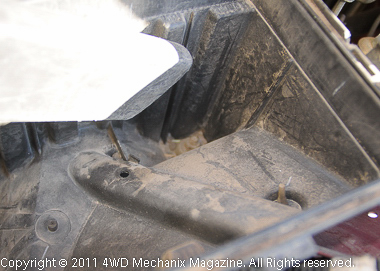
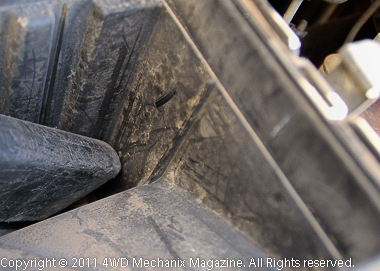
7. The inlet side of the filter is exposed to trail dust, debris and grit. Clean the box out with a shop vacuum. This area of the air box is accessible once the filter element has been removed.
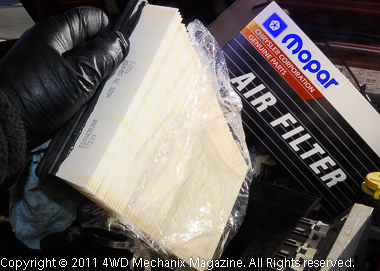
8. Conveniently, the new Mopar air filter element has a protective wrapper. This is helpful when carrying a spare filter in your Jeep 4×4. The filter remains clean even in stowage over dusty trails.

9. The new Mopar air filter element fits securely at the lip of the air box. The seal between the upper lid and lower air box is critical. The lid must fit squarely, snugly gripping the entire edge of the filter.
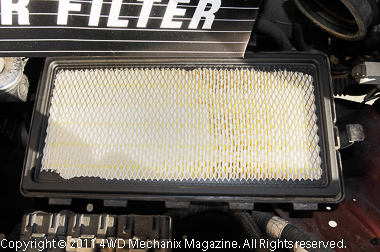
10. The Mopar filter has a mesh screen above the pleated paper element. This screen prevents the engine’s induction draw from pulling the filter material apart. Filter fit is excellent—one more reason why Mopar filters and service parts are our choice!
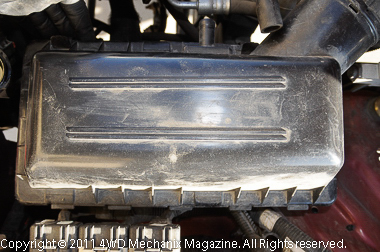
11. Carefully install the lid on the tabs. Fold the lid onto the air filter seal. Make sure the filter remains squarely against the air box ledge. The filter must hold its shape and seal thoroughly around the entire air box and lid.
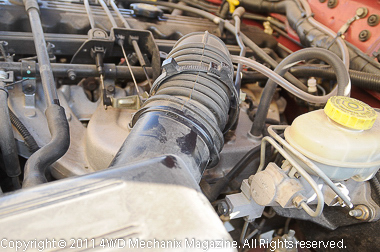
12. Once the lid’s clips have been snapped into place, reposition the hoses. Align the hoses in their original positions, making sure they will seal snugly once the clamp is tightened. Hose and filter seal is crucial for engine protection.
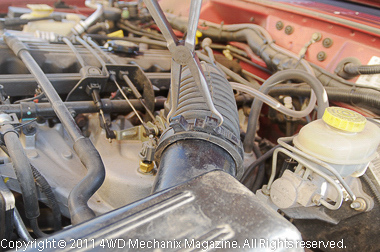
13. With hose in original position and seated properly, the clamp can be secured. Make sure the clamp seats properly, making full contact in its groove. To assure a quality seal, this curved-end pliers squeezes the clamp’s tabs together.
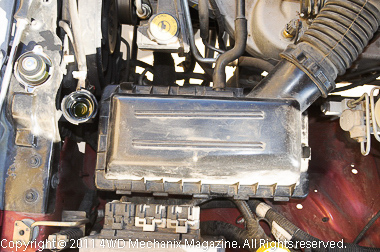
14. The lid is now seated properly, sealing around the Mopar filter element. Clips secure, hoses in place and clamped, this air filter change is complete!
See other service related ‘how-to’ articles in the “Routine Service & Preventive Maintenance” section of the magazine!
