Honda XR650R Motorcycle How-to: Upper Engine Tear Down for Inspection
In this HD video overview, Moses Ludel disassembles the top end of the magazine’s Honda XR650R motorcycle engine. Low compression led to this tear down. For diagnostics before teardown, a cylinder leakdown test was performed. The tear down led to the cylinder head and cylinder barrel sublet to L.A. Sleeve. For more videos on this process, see https://youtube.com/c/roadreadywithmosesludel. There is a Playlist devoted to our Honda 4-stroke motorcycles.
*Footnote: For those doing only a valve adjustment on this four-stroke engine (and other four-strokes with conventional rocker adjusters), a valve adjustment standalone video is also available at the Playlist.
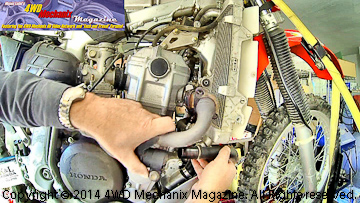
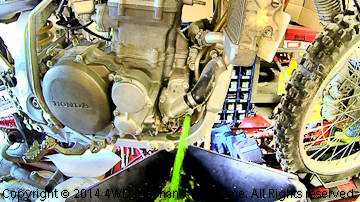
Top engine tear down begins with removal of the complete exhaust system. At right, the stream of draining coolant increases with removal of the radiator cap. Drain coolant into a clean pan and prevent contamination if you intend to reuse the coolant. Strain used coolant through a paint filter when refilling the cooling system.
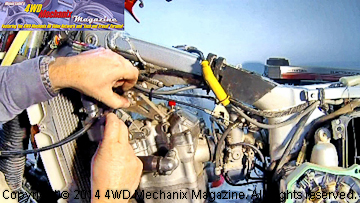
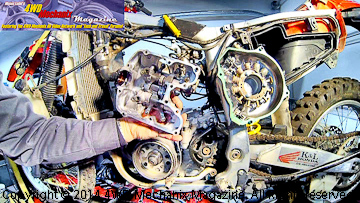
At left, two triangle support brackets connect the upper engine and the frame. Removal of the three bolts and brackets will gain access to the rocker box, cylinder head and cylinder barrel. At right the removed rocker box shows rocker arms and shafts in good condition.
Note: Poor air filtration and an ultra-lean 125 size main jet on this “uncorked” XR650R Honda engine overheated the valves and cylinder but did not damage the oil-cooled parts—a testimonial to the use of high quality synthetic motor oil. Uncorking calls for a 175 main jet at sea level. We purchased the motorcycle in this condition.
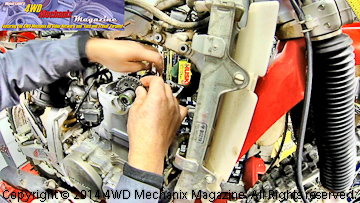
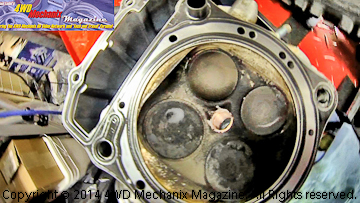
At left, camshaft sprocket comes loose with the removal of two allen head bolts. Prevent parts from falling into the crankcase, or you will be recovering these parts. At right, the cause of the low compression is evident: The valves are badly “coked up” with carbon and were not seating or sealing properly. A wrong main jet and lean air/fuel mixture contributed to this problem and heat damage to the cylinder wall and piston. Seepage of dirt around an aftermarket air filter added to the issue.
Warning: Any time you “open up” the exhaust flow and intake air stream on a motorcycle engine, the carburetor jetting (or EFI flow) must be adjusted. For this iconic Honda XR650R engine, the North American main jet is excessively lean for even a stock engine. When “uncorked”, these engines demand a richer main jet. (At sea level, the 125 stock main jet increases to a 175 main jet in this XR650R application. The pilot jet should also increase in size.) This engine had less than 1000 original miles on it, and the lean mixture, plus debris leaking past the air cleaner, created the damage shown. The 1000 miles might well have been the Baja 1000 race!
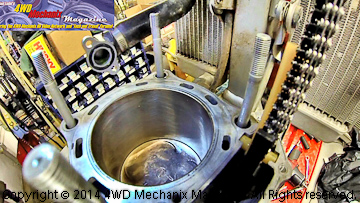
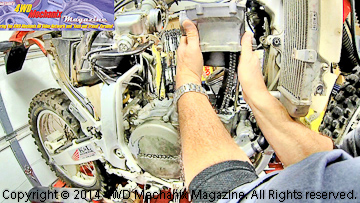
At left, the cylinder wall is tough Nikasil plated yet shows scoring and heat damage. A lean fuel mixture on this size engine raised havoc with the valves and overheated this cylinder’s wall. At right, the cylinder barrel is carefully lifted away from the crankcase, the piston and rings during an upper cylinder rebuild. A four-stroke engine requires considerably more work during major service than a two-stroke engine.
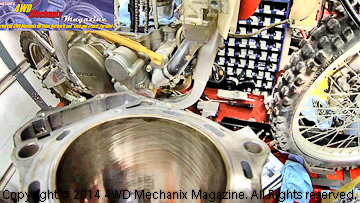
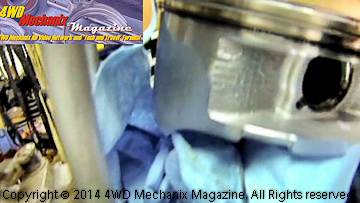
The cylinder shows a mix of factory cross-hatch and glazing from severe heat. Fortunately, this is the only XR Honda engine built with liquid cooling. An air cooled XR would have seized a piston from this lean fuel mix. The piston does show considerable skirt wear, another sign of heat damage. Quality oil limited the damage to the valves, cylinder wall surface, piston skirts and rings. This damage would likely have been prevented with the use of a 175 main jet and proper air filtration. The lower-mileage motorcycle illustrates the importance of proper air filtration and correct air-fuel mixtures.
The cylinder head and barrel went to L.A. Sleeve Company for reconditioning. Curious how this iconic and “bulletproof” Honda XR650R motorcycle engine got to this wear point in less than 1000 original miles? Get the details at Moses Ludel’s comments on carburetor jetting and air filtration—exclusively at this 4WD Mechanix ‘Tech & Travel Forums topic—click here!

