HD Video How-to: OTC 6574 Hub Puller with Adapter Kit for Jeep, Light Truck and Vintage Car Axle Service!
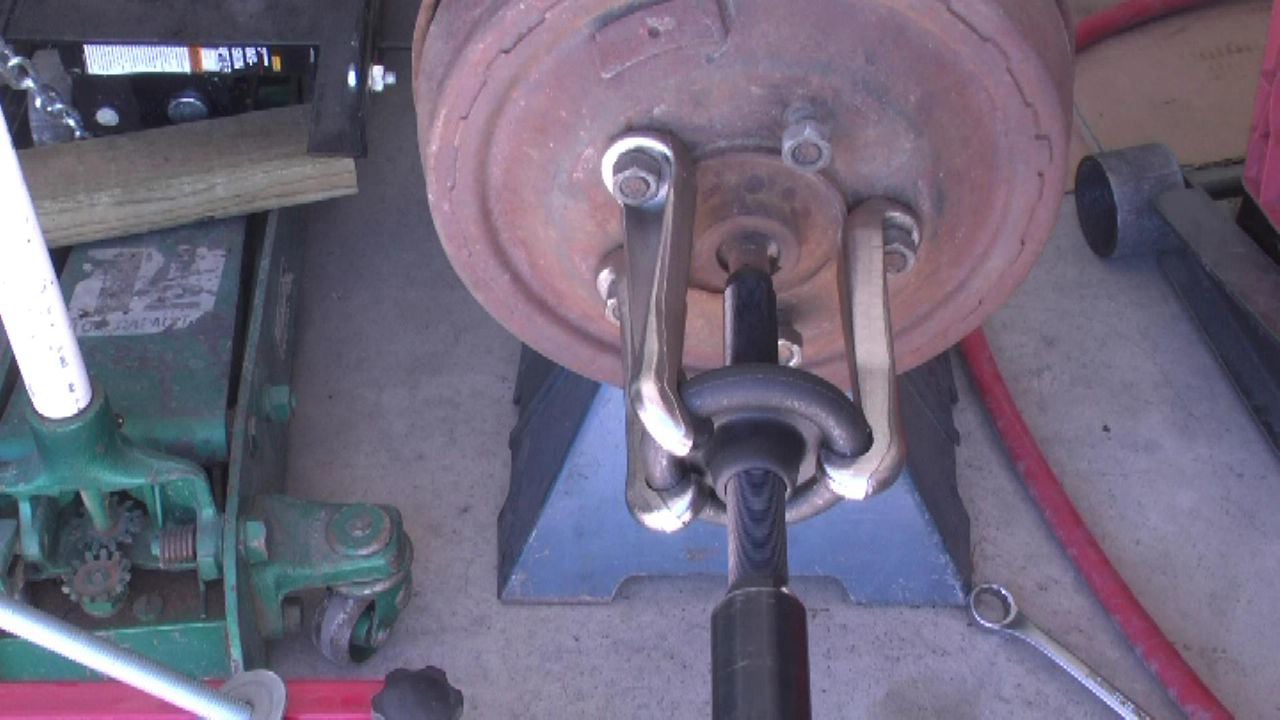
Vintage Jeep 4x4s and AMC/Jeep CJ models with the AMC Model 20 rear axle require a special hub puller to remove the rear wheel hubs. Many vintage cars and trucks require this type puller. OTC makes the 7394 Hub Puller for this task. This HD video demonstrates how to remove rear brake drums and hubs as an assembly. The OTC puller combined with OTC’s 6574-1 adapter plate provide a solution that helps prevent parts damage and personal injury! To protect wheel studs and keep them from breaking or bending during a hub removal on common 5-bolt wheel applications, use the OTC 6574-1 adapter in conjunction with the 7394 Hub Puller.
Update and Note: OTC Tools now offers the OTC 6574 Kit that includes the traditional 7394 puller plus the 6574-1 adapter. YOU NEED THIS COMBINATION KIT. By using the 6574-1 adapter plate (included in the updated OTC 6574 Kit), you will protect the wheel studs by distributing the puller force over all five wheel studs. Using only three studs (original puller design) is a recipe for bending or breaking studs. On drum/hubs with swaged studs (vintage Chrysler as one example), replacing a broken stud(s) involves either 1) replacing the entire hub/drum assembly or 2) purchasing a rare specialty swaging tool for installing new replacement studs…Also review the video (below) on how to make a thread protector for preventing damage to the axle shaft end threads. Puller stem force can damage end threads and even distort the cotter pin hole.
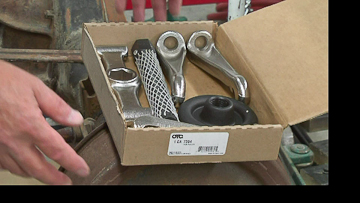
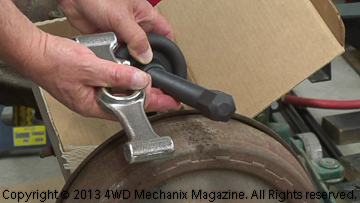
Vintage axles have tapered axle shafts. Jeep, Ford, Chrysler, Studebaker, I-H and others used keyed axle hubs. The wheel hub seats tightly on the axle shaft. The only way to properly remove these hubs is with a quality tool set like the OTC 7394 Hub Puller. U.S.A.-made with impact tool grade steel, this puller can be used with its winged wrench and a hammer or an impact socket and air impact wrench.
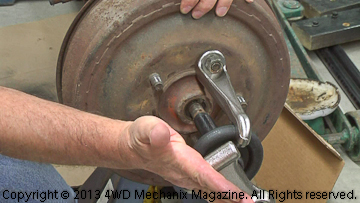
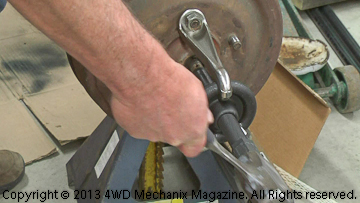
The wing rotates with a hammer. Hub arms secure, the wing attaches to the hex head of the threaded stem. Hammer blows on the wing edges will rotate the stem. Additionally, a sharp rap with the hammer will relieve tension created by the tightened stem. The idea is to “rap” sharply on the stem end; do not beat on the stem! Too much hammer force on the stem end can damage the axle shaft bearing or cause other kinds of damage to the axle. Unless the hub comes loose readily, use the OTC 6574-1 adapter plate to avoid wheel stud damage.
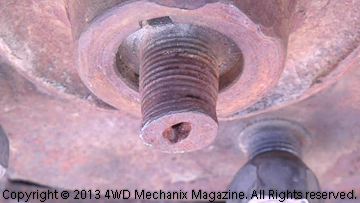
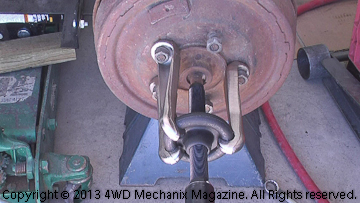
The flattened axle shaft was ruined by someone who did not have the proper puller tool! After being beaten to the point of ruin, the hub still remained firmly attached to the tapered axle shaft. An OTC 7394 puller is the proper way to remove the hub and brake drum, as seen in the HD video (above). For these 5-bolt hubs, use the OTC 6574-1 adapter (below) to protect the riveted wheel bolt studs. The added cost of the adapter is well worth it!

Caution: When removing a wheel hub that requires force, be certain to use the OTC 6574-1 Universal Adapter Plate. This will spread the puller load over a larger number of wheel bolts/studs, reducing the risk of damaging the studs. Many vintage hubs and brake drums use “riveted” studs. Damaging a stud involves major work and special tooling to replace a wheel stud. Do not bend or break these studs! If you need to replace a vintage wheel stud that is riveted in place, see the Goodson Tool catalog and the specialty cutters, available in three sizes: https://goodson.com/products/swedge-tools. For details on this issue and how to effectively use the tools, here is a useful insight on how to use the Goodson cutter and also how to install a stud. The example is at a vintage Ford website: http://www.fordgarage.com/pages/swaging.htm. The studs shown at fordgarage.com are unique to the vintage Ford hub and brake drum design; these are not the serrated type studs typical of Chrysler and others…Be certain to use the correct OEM-type replacement wheel stud for the specific vehicle. Better yet, do not break or bend a wheel stud.
Rare Axle Shafts: Protecting and Fixing Damaged Outer Threads and Mushroomed Cotter Pin Holes
A simple yet valuable tool, made in my shop from a common medium-duty Ford truck lug nut, helps prevent damage to axle shaft end threads. When using a puller, the stem under high load can distort and flatten the outer shaft threads and mushroom the cotter pin hole. On Chrysler axle shafts with a 3/4″-16 NF thread shaft, this Dorman 611-032 nut can be modified to prevent damage to axle shaft threads. This tool is also versatile for keeping the key from sliding outward with the hub and damaging the threads. A third feature is the ability to position the square key at the correct location and keep the key aligned properly with the hub and axle shaft keyway. Create a tool that will work with your axle shaft’s thread diameter and thread pitch. Review this video before using any kind of axle hub puller.
Below video is the repair of a damaged, obsolete axle shaft. These shafts are hardened, and it is critical not to damage case hardening or through-hardening. The critical part of this high tensile brazing procedure is maintaining temperatures below the annealing point or “normalizing” point for the hardening. This repair was the last resort and necessary due to the obsolete nature of the axle shaft. Also, the damage was not at a load bearing section of the threads. High tensile brazing is limited to the end threads, no deeper than the cotter pin holes. In most instances, finding a replacement NOS axle shaft or undamaged used axle shaft would be the restoration choice.
Threaded Ball-Joint Removal
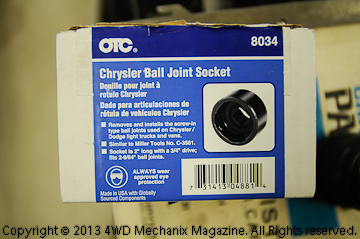
For removing threaded Chrysler ball joints, this 8034 tool is a must. If a ball-joint has square edges, it is a screw-in joint. Do not attempt to press this joint out, or the threads on the control arm will be damaged or ruined.

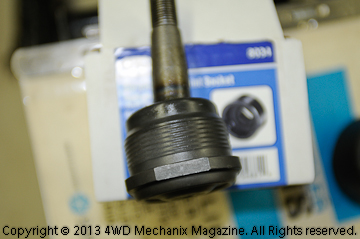
The OTC 8034 socket fits larger Chrysler square-head ball joints. The larger application is 2-9/16″ square size and fits bigger and older Chrysler cars and Dodge truck ball joints. There is also a smaller square size socket available from OTC for smaller Chrysler ball joints.

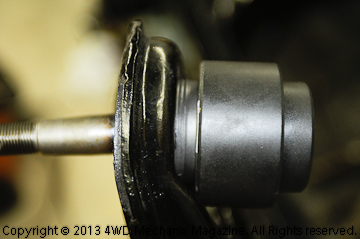
On threaded ball-joint Chrysler models, the control arm end has factory threads. When removing and installing these ball joints, use the right tool like this high quality, impact grade OTC 8034 socket. Make sure you have the right size socket(s) for the ball joints. Always use caution when installing a ball joint—do not cross-thread the joint in the control arm threads! Torque the ball joint to specification and make sure the joint seats properly.
Invest in the right tools to protect yourself and vintage parts. As the years roll by, NOS and aftermarket vehicle parts become obsolete. One example is the left hand thread wheel bolt studs for the left side of vintage vehicles. These studs are currently available for vintage Jeep® vehicles but virtually impossible to find for Chrysler and other makes. Protect these parts during service work.

